
How to add Cisco IOS images in GNS3
Practicing for your Cisco certifications? Here you will learn how to add cisco ios images in GNS3 in a few minutes so you can start your labs and get better.
The current version of GNS3 as of this post is 2.2.54.
STEPS
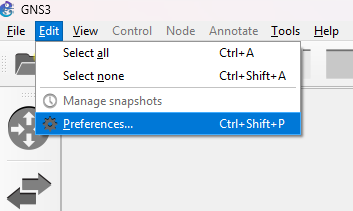
Open GNS3 and go to Edit > Preferences…
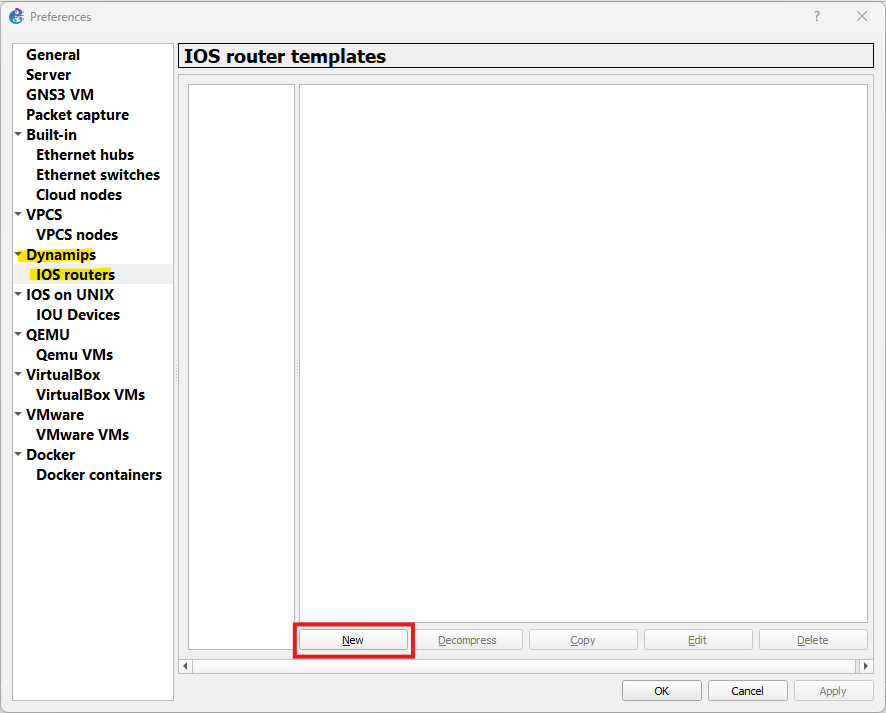
Once the new window prompts, go to Dynamips > IOS routers and then click on New.
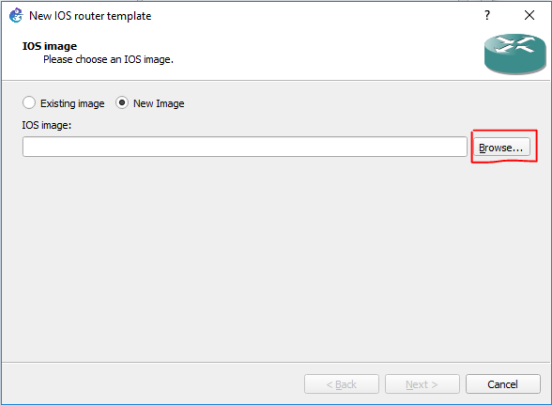
Another window will prompt, which is like a Wizard, just follow the steps and click Next until you’re done (I will guide you through anyway).
In the new window, go to Browse and go to the folder where you keep the IOS images.
Look at this list for GNS3 compatible IOS images.
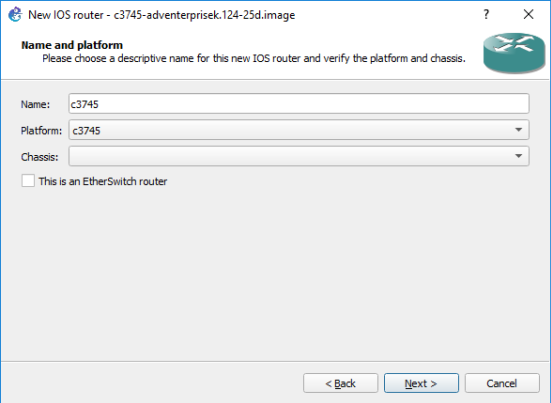
Once you have selected the IOS image you want, click on Next and you will see the following window.
I used a Cisco 3745 router, and it automatically detected it (Platform) .
Choose a name, then click Next.
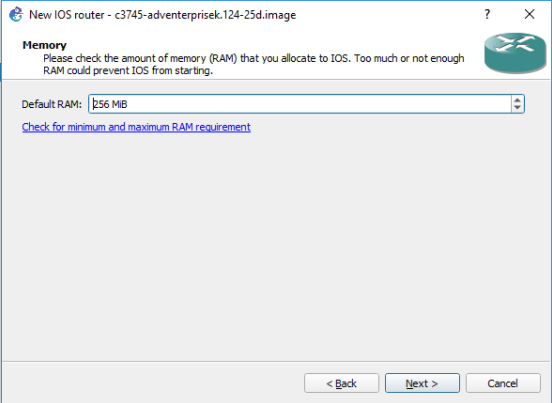
In the next window, you will have to set the RAM you will dispose of for this virtual device (Router).
GNS3 typically sets the default or minimum RAM required for the image to run properly. If it doesn’t, you can check the required RAM using the link I’ll provide.
Check the minimum RAM needed for every Cisco IOS device here.
Now comes a tricky part if you don’t know what you are doing. This is the window that comes next and where you are going to be adding interfaces to your Router.
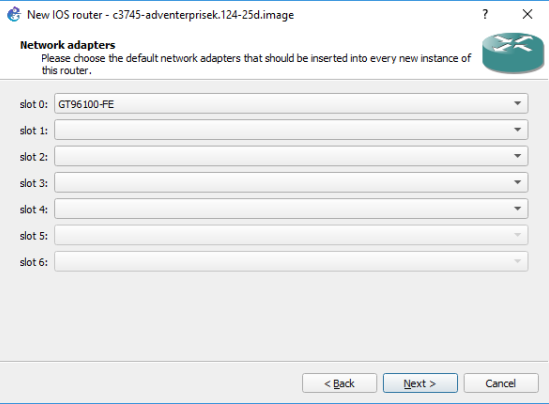
GNS3 enables a specific number of slots so you can actively choose from the available interface types.
Interface types:
- NM-1E, has 1 Ethernet port.
- NM-1FE-TX, has 1 FastEthernet port.
- NM-16ESW, is a switching module with 16 FastEthernet ports and provides some basic switching functionality.
- NM-4T, has 4 Serial ports for WAN connections.
*You skip the next window (WIC modules) which lets you add more Serial ports, lets you add 1 or 2 (per slot).*
Click Next once you are done.
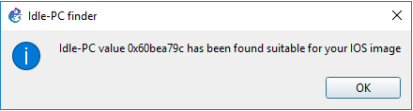
Next, you’ll be prompted to set an idle-pc value; this is important because it helps reduce CPU usage and ensures your PC runs smoothly during GNS3 simulations.
Click on Idle-PC finder for GNS3 to automatically set the best value for the device you are adding.
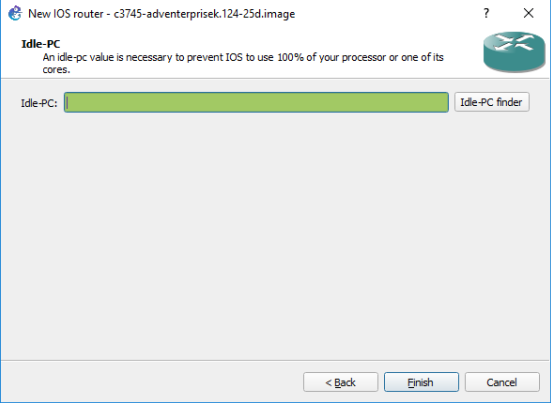
You’ll get something like this.
So, now you are done, just click Finish, then Apply and repeat the process to add as many devices as you want.
Here’s a link to a video I made for this procedure (How to add Cisco IOS images in GNS3).
Feel free to leave a comment down below if you have questions.
Place For Tech
Everything you need to know about tech!